Quickstart Guide
This guide will help you to quickly setup BGArmor into your BGE/UPBGE project without much hassle.
Download the latest release
In order to use the BGArmor panel, download the latest release of BGArmor from the releases page.
Create a project
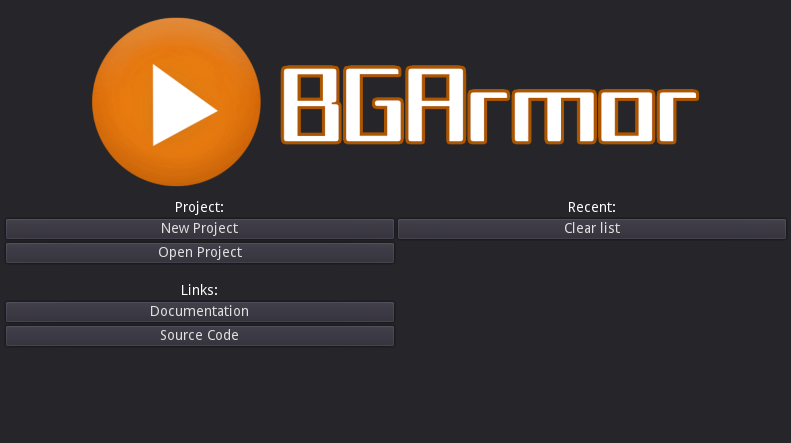
Open the BGArmor panel and you will see the welcome screen.
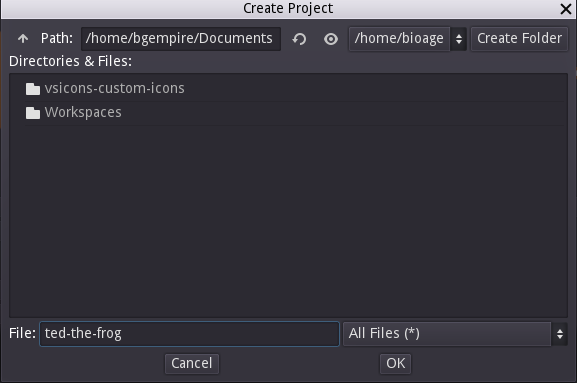
Click on New Project, and on this new dialog go to a folder (e.g. your Documents folder),
choose a game directory name to be created and click OK to create your project.
With your project created, you will see the main BGArmor Panel.
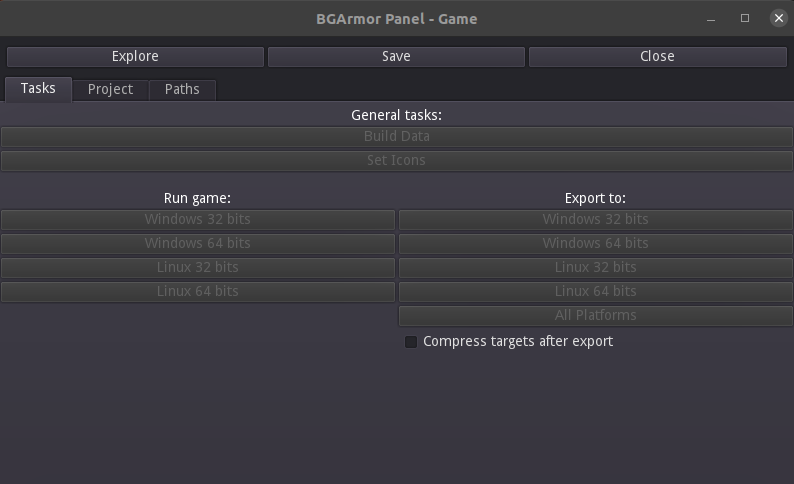
Click on Explore to open your project’s folder, as we need copy some files there manually.
Copy the needed files to BGArmor’s directory
Once you have the BGArmor’s release extracted in a directory you need two main contents into this
directory: the game data into the data directory and the engine runtimes at engine directory.
Game data
First delete any file from the data directory, they are just for example. If you you already
have an ongoing project or are creating a new project from scratch, all you have to do is ensure that
all your project files (blends, textures, scripts, sounds and so on) are contained into the data
directory. Your main blend file (the one which your game is supposed to be launched from) is supposed
to be at the root directory of data and named according to your game’s name (because this file name
will be shown at the runtime’s titlebar).
Engine runtimes
Copy the engine runtimes to the respective directories at engine, that is, the BGE / UPBGE’s Windows
executable files to engine/Windows32 / engine/Windows64 and respectively the same for the Linux executable files.
You can actually copy all the contents of the Blender/UPBGE directory, but the blender executable and the
directories datafiles and scripts from engine/xxx/2.xx/ directory can be safely deleted.
Setup the paths
Once all the runtime files and game data were correctly put into their directories, you just need to point to them on the project configuration. Go back to BGArmor Panel and head to the Paths tab.
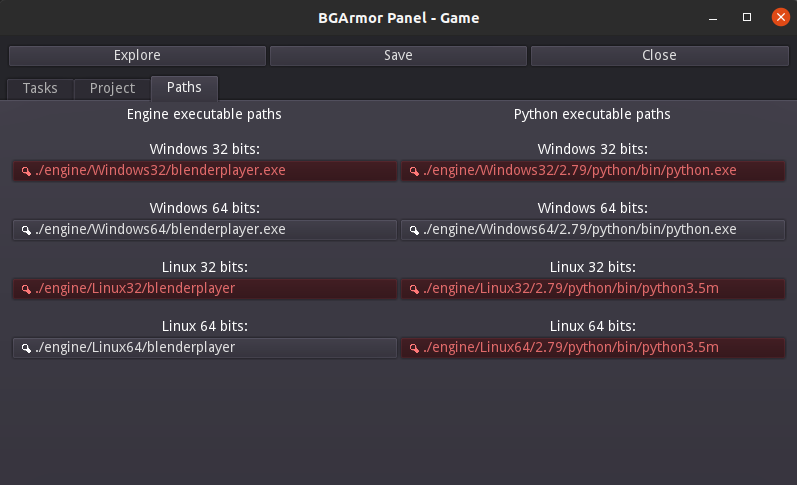
On this tab you can set the paths to any runtime executable. The red paths indicate the executable in question was not found. Click on the missing path to select an existing executable. You don’t need to set all executables, only the ones whose platforms/architectures you wish to release your game on. On the other hand, you must set both engine and Python executables to be able to run and export to this platform.
Engine executable paths
These executables points to the blenderplayer executables. This is needed for the
BGArmor’s launcher executable to be able to run the game and for tasks such as icon changing.
Python executable paths
These executables points to the python executable of the engine. This is needed for the
BGArmor’s launcher executable to be able to run the game and for most of the tasks to run (because
they actually run Python scripts under the hood).
Set the main blend file
Now head to the Project tab and set the main blend file by clicking on its field and selecting it on the dialog.
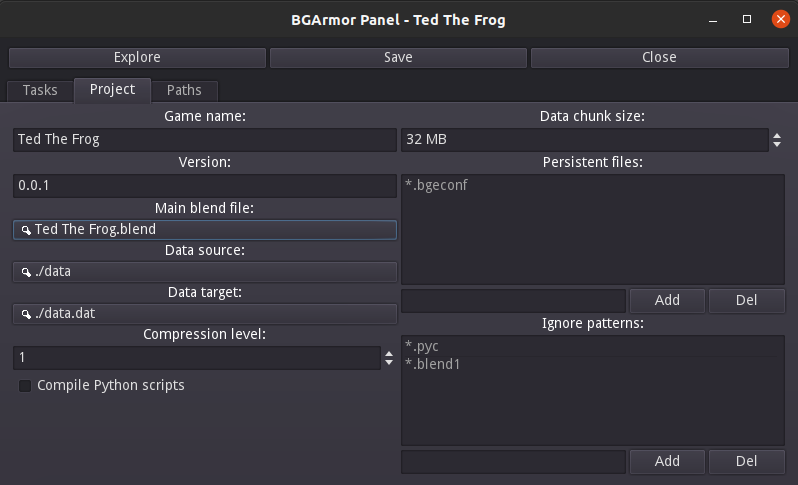
On this tab you can also customize relevant project data.
Create a data.dat file and test run the launcher
To test if the environment is correctly set up, try to create a data.dat file by going to the Tasks tab
and clicking in the button Build Data (it should be clickable now since you set up the correct Python and
engine executables on the Paths tab).
If a new data.dat shows up in the root directory after running the task, the project has been
correctly set up and you can run any tasks without problems.
Once the game data was built, you can also test run your game directly inside BGArmor by clicking in the Run Game buttons.
Releasing the game
If you were able to Build Data and Run Game, you’re also able to export your game.
The Export tasks will generate the selected releases automatically on the release directory.